Digital HSA Claim Submission — What Employees Need to Know
Navigate digital HSA claims without costly mistakes or delays.
An HSA is an employee-owned account that covers medical costs insurance doesn't touch, and once money lands in it, it belongs to the employee outright, including whatever the employer may have contributed. Most administrators now run the entire reimbursement cycle online: portals, mobile apps, direct deposit. Paper forms and mailed receipts are mostly gone. This piece walks through the whole digital process, from swiping the card to tracking a deposit, so submitting a claim stops feeling like guesswork.
Canadian small business employees see a similar setup through pay-as-you-go Health Spending Accounts. The employer sets a yearly budget, the employee pays for CRA-recognized expenses and submits them online, and the administrator handles the rest. No fixed premiums, no pooled risk, just claims and reimbursements. The mechanics differ slightly by country, but the logic is the same: pay, prove it, get your money back.
The two paths to accessing your HSA funds: debit card versus self-reimbursement
There are two ways to actually get money out of an HSA, and picking the right one saves a lot of back-and-forth later.
The first is the HSA debit card. Swipe it at an eligible pharmacy or provider, and the transaction often gets auto-substantiated on the spot through an automated eligibility verification process. If it clears automatically, there's nothing else to submit. Still, hold onto the receipt. If the system can't auto-verify the purchase, the administrator flags it and asks for documentation separately, so the paper trail matters either way.
The second path is paying out of pocket first. This splits into two options depending on the platform: "Reimburse Me," where the employee pays with a personal card or cash and then logs in to request a matching payout, or "Pay Provider," where the administrator sends the payment straight to the provider. Both require uploading documentation at the time of submission, no exceptions.
One rule cuts across both paths and it's non-negotiable: expenses from before the HSA's effective date are never eligible. Dartmouth's 2026 HSA guidance spells this out: expenses from before the HSA's effective date are never eligible. An employee who opens an HSA in March can't turn around and claim a January expense from that same year, even if the money's just sitting there.
Confirming an eligible expense before you submit
Getting eligibility wrong costs real money. Submit a non-qualified expense and withdraw HSA funds for it before age 65, and the IRS hits the amount with ordinary income tax plus a 20% penalty. At a 24% federal bracket, withflex.com finds a $2,000 mistake works out to roughly $880 in tax and penalty combined. That's a 44% effective hit before state tax even enters the picture. So check first. Always check first.
The eligible list is broad. On US plans, IRS-qualified medical expenses cover prescriptions, dental work, vision care, certain medical devices, and mental health services. Canadian plans work off a recognized list of eligible expenses that covers similar ground. Dual-purpose items, though, like some fitness equipment or certain supplements, usually need a Letter of Medical Necessity (LMN) from a licensed provider before they qualify. Skipping that step gets the claim denied even if the underlying expense might have been fine.
2026 brought a few US-specific expansions worth knowing. IRS Notice 2026-05, issued December 9, 2025, states that under the One Big Beautiful Bill Act, direct primary care arrangements no longer disqualify someone from HSA eligibility, and DPC fees can now be paid straight from the HSA, up to $150 a month for self-only coverage or $300 for family coverage. Telehealth visits received before meeting the deductible on a high-deductible health plan are also now permanently covered without jeopardizing HSA eligibility, retroactive to January 1, 2025.
Before submitting anything, check the expense against the administrator's eligibility list or IRS Publication 502. When something looks borderline, ask the plan administrator before submitting, not after the money's already moved.
What documentation to gather before opening the portal
Every receipt or Explanation of Benefits needs to show the date of service, a description of what was provided, the name of the person who received it, the name of the provider or merchant, and the amount paid. Missing one of these usually bounces the claim back.
Itemized receipts, insurer EOBs, and provider invoices all work. A balance statement that just says "you owe $X" doesn't cut it on its own, since it skips most of the required fields. Most portals accept a wide range of file types: PDF, JPG, JPEG, GIF, PNG, TIF, TIFF, and common spreadsheet or document formats like XLS and DOC, confirmed at the SLO County portal documentation. If the expense needs an LMN, get that letter from the provider ahead of time and attach it alongside the receipt, not after the fact.
Here's something that trips people up: HSAs, unlike FSAs, don't require documentation at the exact moment of withdrawal. But the records still need to exist somewhere, because the IRS can audit later. Tax returns can stay open for years after filing, so keeping HSA purchase records for at least seven years is the safer approach. Digital copies work fine, but a physical backup alongside them isn't a bad habit either.
One small, practical thing: photograph or scan receipts right after buying something. Thermal paper fades fast, and a blank slip six months later is a real problem during an audit.
Submitting a claim through the portal or mobile app, step by step
The flow looks nearly identical across administrators, once you strip away branding differences.
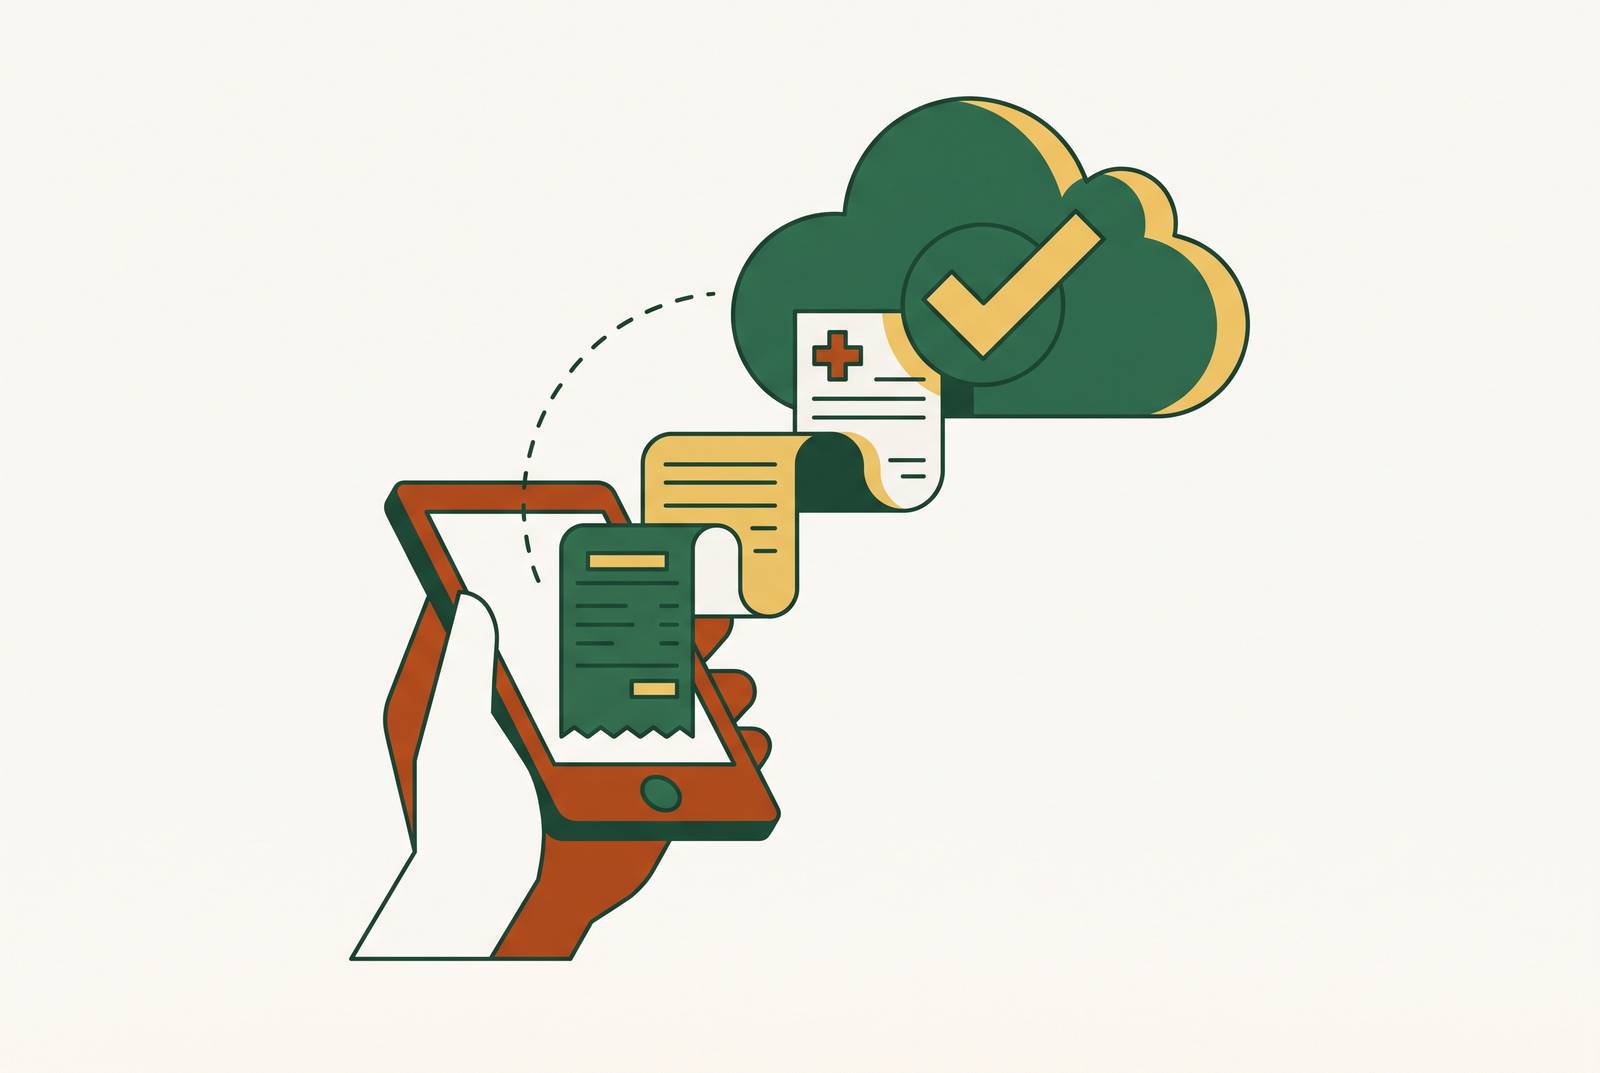
Log into the HSA portal or app, then find "Claims" on the dashboard. From there, select "Submit Claim," or the equivalent "Reimburse Me" or "Pay Provider" option depending on the platform. Fill in the claim details: date of the expense, dollar amount, type of service, and provider name. Then comes the documentation screen, usually with a button that says something like "Attach a Claim Receipt." Upload the file there. Before hitting submit, double check everything, since a wrong member ID or a cropped upload are easy ways to cause a claim to stall out. Submit, then save the confirmation number or screenshot the confirmation page. That number matters if anything needs to be traced later.
A few platforms have their own quirks. HealthEquity's mobile app lets someone snap a photo, pull from the gallery, or attach a PDF from Files, and it supports both provider payments and self-reimbursement. Passkey authentication is rolling out through 2026 there. As of March 2026, inbound HSA transfers into HealthEquity also moved to a digital submission flow, replacing the old paper-based process, replacing the old paper-based process. HSA Bank runs through hsabank.com or its app: log in, click "File a Claim," pick the account, and follow the prompts. Lively gets praised for a clean mobile interface that lets users upload receipts straight from the phone camera. Fidelity offers its own platform for managing HSA claims and transactions.
Canadian pay-as-you-go HSA platforms follow a similar digital submission flow, and the administrator processes approved reimbursements through EFT.
Skipping the receipt attachment is a guaranteed denial. Most administrators won't even review a claim without documentation attached, so don't submit without it and expect to fix it later.
Reimbursement usually lands one of three ways: direct deposit through EFT, a mailed paper check, or a scheduled batch payment, which some platforms run bi-weekly, monthly, or as an annual installment depending on how the plan is set up.
Reimbursement timing and claim status tracking
Timing depends heavily on the transfer method. Withflex.com reports that ACH bank transfers, the most common method, take 1 to 3 business days. A mailed paper check runs 5 to 10 business days. Using the HSA debit card directly at point of sale is the fastest access method.
Most reimbursements are between 1 and 5 business days overall, and withflex.com pegs 2 to 3 business days as the typical experience. That's a lot faster than most insurance claims, mainly because there's no insurer approval step in the way. The employee controls the timing here.
Tracking status is usually built right into the app. HealthEquity's app shows claim status directly, whether it's pending, approved, or paid. Fidelity's platform shows a full transaction history. Administrators also tend to send email or in-app alerts when a claim gets approved, when a debit card transaction needs backup documentation, or when something's missing from a submission.
Ignoring one of those substantiation alerts on a debit card transaction can get the card suspended until the documentation shows up. That's a good reason to check the inbox regularly instead of letting alerts pile up.
The strategic case for not reimbursing yourself right away
There's no deadline on HSA reimbursement. None. As long as the HSA was open when the expense happened and the records are kept, the employee can reimburse themselves whenever they want. That's a strange and genuinely useful feature most people never use.
Consider the math: pay a $300 medical expense in 2026, leave the HSA balance invested and growing, and reimburse yourself in 2032. The withdrawal stays completely tax-free, because the expense date falls after the account was opened, and nothing in the rules says the reimbursement has to happen right away.
Compare that to how FSAs work. FSAs require expenses to happen and get submitted within the plan year, plus whatever run-out period the employer allows. Balances above the carryover limit just disappear. Dartmouth's 2025 HCFSA page puts that carryover limit at $660, and anything above it is forfeited.
That difference changes what an HSA actually is. It functions as a spending account and a long-term investment vehicle at the same time. Someone who can afford to cover a medical bill out of pocket now, and wait years to reimburse themselves, lets that HSA balance sit invested and compound in the meantime.
None of this works without the paperwork. Delayed reimbursement only holds up if the receipt survives long enough to prove the expense when the withdrawal finally happens, so the same long-term record-keeping discipline applies here as it does to same-week reimbursements.
Common submission mistakes that delay or deny claims
Most rejected claims come down to a short list of avoidable errors.
Submitting a balance statement instead of an itemized receipt tops the list, since balance statements skip the required fields like date of service and provider name. Right behind it: uploading a cropped or blurry image where the total or date got cut off. Photograph receipts flat, under decent light, and check the image before uploading.
Administrator transitions cause their own headaches. When the University of Wisconsin system moved FSA administration from Optum to TASC on January 1, 2026, claims for 2025 expenses still had to go to Optum, even for people submitting in early 2026. Getting the wrong member ID or plan year on a claim form during a transition like that is an easy way to lose weeks.
Dartmouth's guidance states that claiming something from before the HSA's effective date is a straightforward IRS rule violation, regardless of what calendar year the mistake happened in. Forgetting to attach documentation at all guarantees a denial and forces a resubmission, adding delay that didn't need to happen. Ignoring a debit card substantiation alert can suspend the card entirely until the missing documentation shows up.
And then there's the expensive one: submitting a non-eligible expense. That 20% penalty plus ordinary income tax is real money, so when eligibility is unclear, verify it before submitting, never after. Tossing receipts once reimbursement clears is the last mistake. The IRS can audit at any point down the line, and HRMorning's advice to keep records for at least seven years exists for exactly that reason.
How pay-as-you-go HSA administration works for small business employees
Small businesses often run Health Spending Accounts on a pay-as-you-go model, and it works differently from a traditional group benefits plan. The employer sets an annual spending budget per employee. The employee pays for eligible expenses out of pocket and submits claims digitally. The administrator checks each one against CRA eligibility and processes the reimbursement through EFT. There's no flat monthly premium and no pooled risk.
From the employee's side, the submission steps look almost identical to the US portals described earlier: gather the documentation, log in, enter the expense details, attach the receipt, hit submit. The portal and mobile experience track closely with what larger US HSA platforms offer.
The fee structure is what makes this model different. Employers pay administration fees only when claims get approved, not a flat premium regardless of usage. That keeps a plan funded and active without the employer footing the bill for coverage nobody used that year.
Once a claim clears, funds go straight into the employee's bank account through EFT, no cheque to deposit. At year's end, administrators typically produce summary reports for both employer and employee, and those summaries are worth filing away alongside receipts as part of that same seven-year record-keeping habit.
Check the annual spending limit before submitting a big claim, or several in the same stretch. Unlike a traditional insurer, a pay-as-you-go HSA has a defined budget ceiling for the plan year, and the excess above it doesn't get reimbursed.